Don't you hate it when your CRM is plagued with floating overdue tasks?
At first, it's not an issue.
Then, that task count gets to the thousands and your team is confused on what actually needs to get done.
Leads get missed, productivity dips, and your team is frustrated.
Here's a quick script that can solve your problem in the blink of an eye.
The Messy Task Problem
Your team is confused on what needs to be followed up on and what has been completed. They wish all of their open overdue tasks are closed as soon as a ticket or deal is closed.
The Task Completion Solution
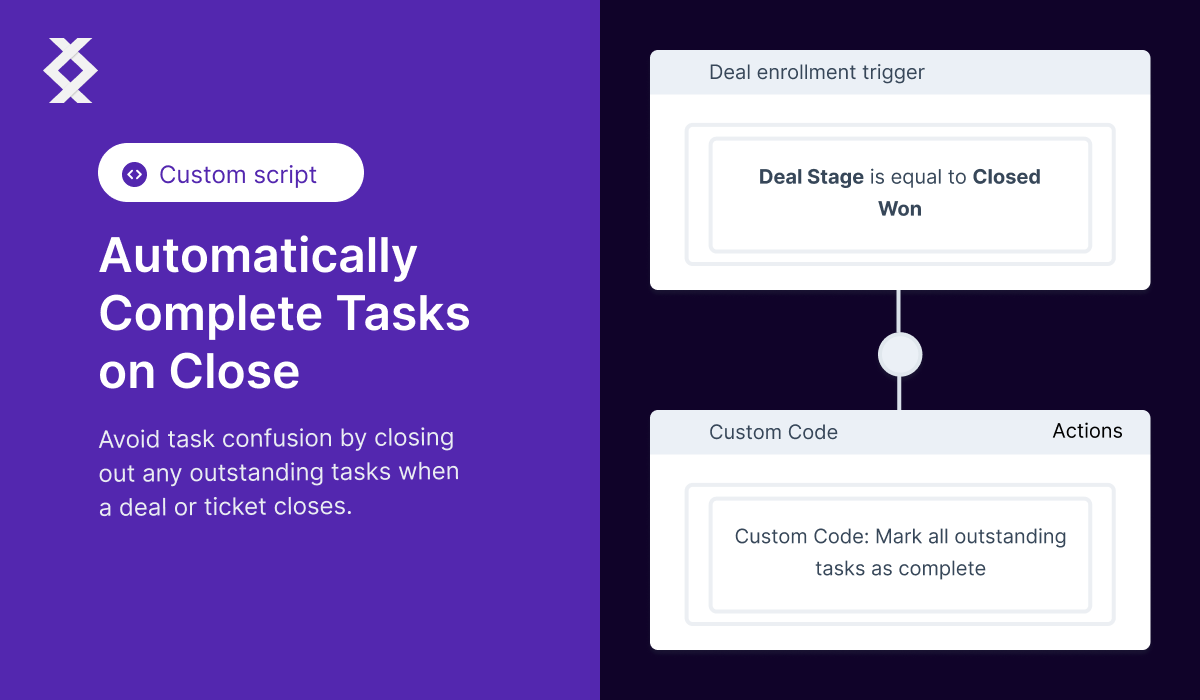
The solution is simple. A custom code workflow using the HubSpot custom code feature in Operations Hub that closes your tasks automatically when a ticket hits the close stage or a deal hits the closed stage.
The Benefits of Automatic Task Completion
The benefits of this script are simple. Your team is more focused on the activity that needs to occur to close tickets and deals. The confusion is lifted from your team and productivity goes up. Another plus is that data hygiene is better as well!
Create the Python Script to Auto Complete Tasks
Sure, here are more detailed step-by-step instructions for the script:
-
First, import the necessary libraries:
requestsandos.- The
requestslibrary is used to send HTTP requests to the HubSpot API. This library is commonly used in almost every Python script. - The
oslibrary is used to pull the private token securely from the environment. This is an important step in keeping your private key secure.
- The
-
Create a new function called "main" that receives the "event" object from HubSpot.
- The event object is passed to the script by HubSpot and contains information about the event that triggered the script to run. In this case, the event is the closing of a deal or ticket.
-
Within the function, pull the "Private Token" variable from the environment to keep your private key secure using the
os.getenv('PRIVATE_TOKEN')command.- The private token is a key that grants access to the HubSpot API. It is important to keep this key secure. By using the
os.getenv('PRIVATE_TOKEN')command, the script will retrieve the private token from the environment, rather than hardcoding it into the script.
- The private token is a key that grants access to the HubSpot API. It is important to keep this key secure. By using the
-
Then, pull the ticket ID from the input. The variable will be stored as "hs_ticket_id".
- The ticket ID is used to identify which ticket the script should operate on. The
event.get('inputFields').get('hs_ticket_id')command retrieves the ticket ID from the input fields of the event object passed to the script.
- The ticket ID is used to identify which ticket the script should operate on. The
-
Create a variable for the url to call on the ticket.
- The url variable is used to make a GET request to the HubSpot API to retrieve the task associations of the ticket. The url is constructed by concatenating the base url, the ticket ID and the task associations endpoint.
-
Create header variables that give your code access to the API using the
headersvariable.- The headers variable is used to provide the necessary authentication information to the API. It includes a content-type of "application/json" and the private token from step 3 in the format "Authorization: Bearer {private_token}".
-
Send a GET request to the
urlvariable to get the task associations of the tickets using therequests.get(url, headers=headers)command.- This GET request retrieves the task associations of the ticket specified by the ticket ID. The
headersvariable is passed as an argument to the request to provide the necessary authentication information.
- This GET request retrieves the task associations of the ticket specified by the ticket ID. The
-
Retrieve the results from the response to your GET request using
response.json()['results']- The response from the GET request is in JSON format, which can be parsed using the
json()method. The['results']part of the command is used to access the array of task associations returned in the response.
- The response from the GET request is in JSON format, which can be parsed using the
-
Pull all the ids from the tasks associated with this ticket using a list comprehension
task_ids = [task['id'] for task in results]- The list comprehension iterates through the results array and extracts the task id from each task association, creating a new array of task ids.
-
Create a Task Update URL to update the tasks to complete `task_update_url = "https://api.hubapi.com/crm/v3/objects/tasks/batch/update"
# First, import the libraries you need
# You need the requests library in almost every Python script
import requests
# You will need the os library so you can pull your private token securely.
import os

# Create a new function called "main" that receives the "event" object from HubSpot.
def main(event):
    # Pull the "Private Token" variable from the environment to keep your private key secure
    private_token = os.getenv('PRIVATE_TOKEN')
    # Pull the ticket ID from the input. The variable will be stored as "hs_ticket_id"
    ticket_id = event.get('inputFields').get('hs_ticket_id')
    # create a variable for the url to call on the ticket
    url = "https://api.hubapi.com/crm/v3/objects/tickets/" + str(ticket_id) + "/associations/" + "tasks" + "?limit=500"
    # create header variables that give your code access to the API
    headers = {"content-type": "application/json", "Authorization": "Bearer " + private_token}
    # Send a get request to the variable above to get the task associations of the tickets
    response = requests.get(url=url, headers=headers)
    # Retrieve the results from the response to your get request
    results = response.json()['results']
    # Pull all the ids from the tasks associated with this ticket
    task_ids = [task['id'] for task in results]
    # Create a Task Update URL to update the tasks to complete
    task_update_url = "https://api.hubapi.com/crm/v3/objects/tasks/batch/update"
    # Create an array of inputs that you can format to exactly what the HubSpot API required
    inputs = []
    # Iterate through each task ID in a for loop
    for task_id in task_ids:
        # add the task id with the data you want to update to the inputs
        inputs.append({
            "id": task_id,
            "properties":{
                "hs_task_status": "COMPLETED"
            }
        })
    # Wrap your inputs in a "inputs" key store in the dictionary you will send to HubSpot
    data = {
        "inputs": inputs
    }
    # Send the data to the HubSpot API with your data and headers. You will use a "Post" method
    response = requests.post(url=task_update_url, headers=headers, json=data)
    # Retrieve the response results from this call
    results = response.json()
Create the Custom Code Workflow in HubSpot
Next, we need to create our workflow so this code triggers every single time a new ticket is closed.
From the main menu, click on the "Automation" tab and then click on the "Workflows" option.

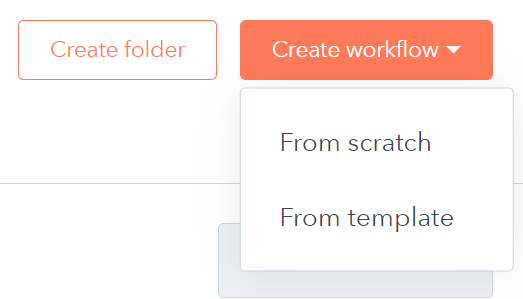
You will want to click the orange "Create workflow" button in the top right and click on "From scratch". This will create a new blank workflow.
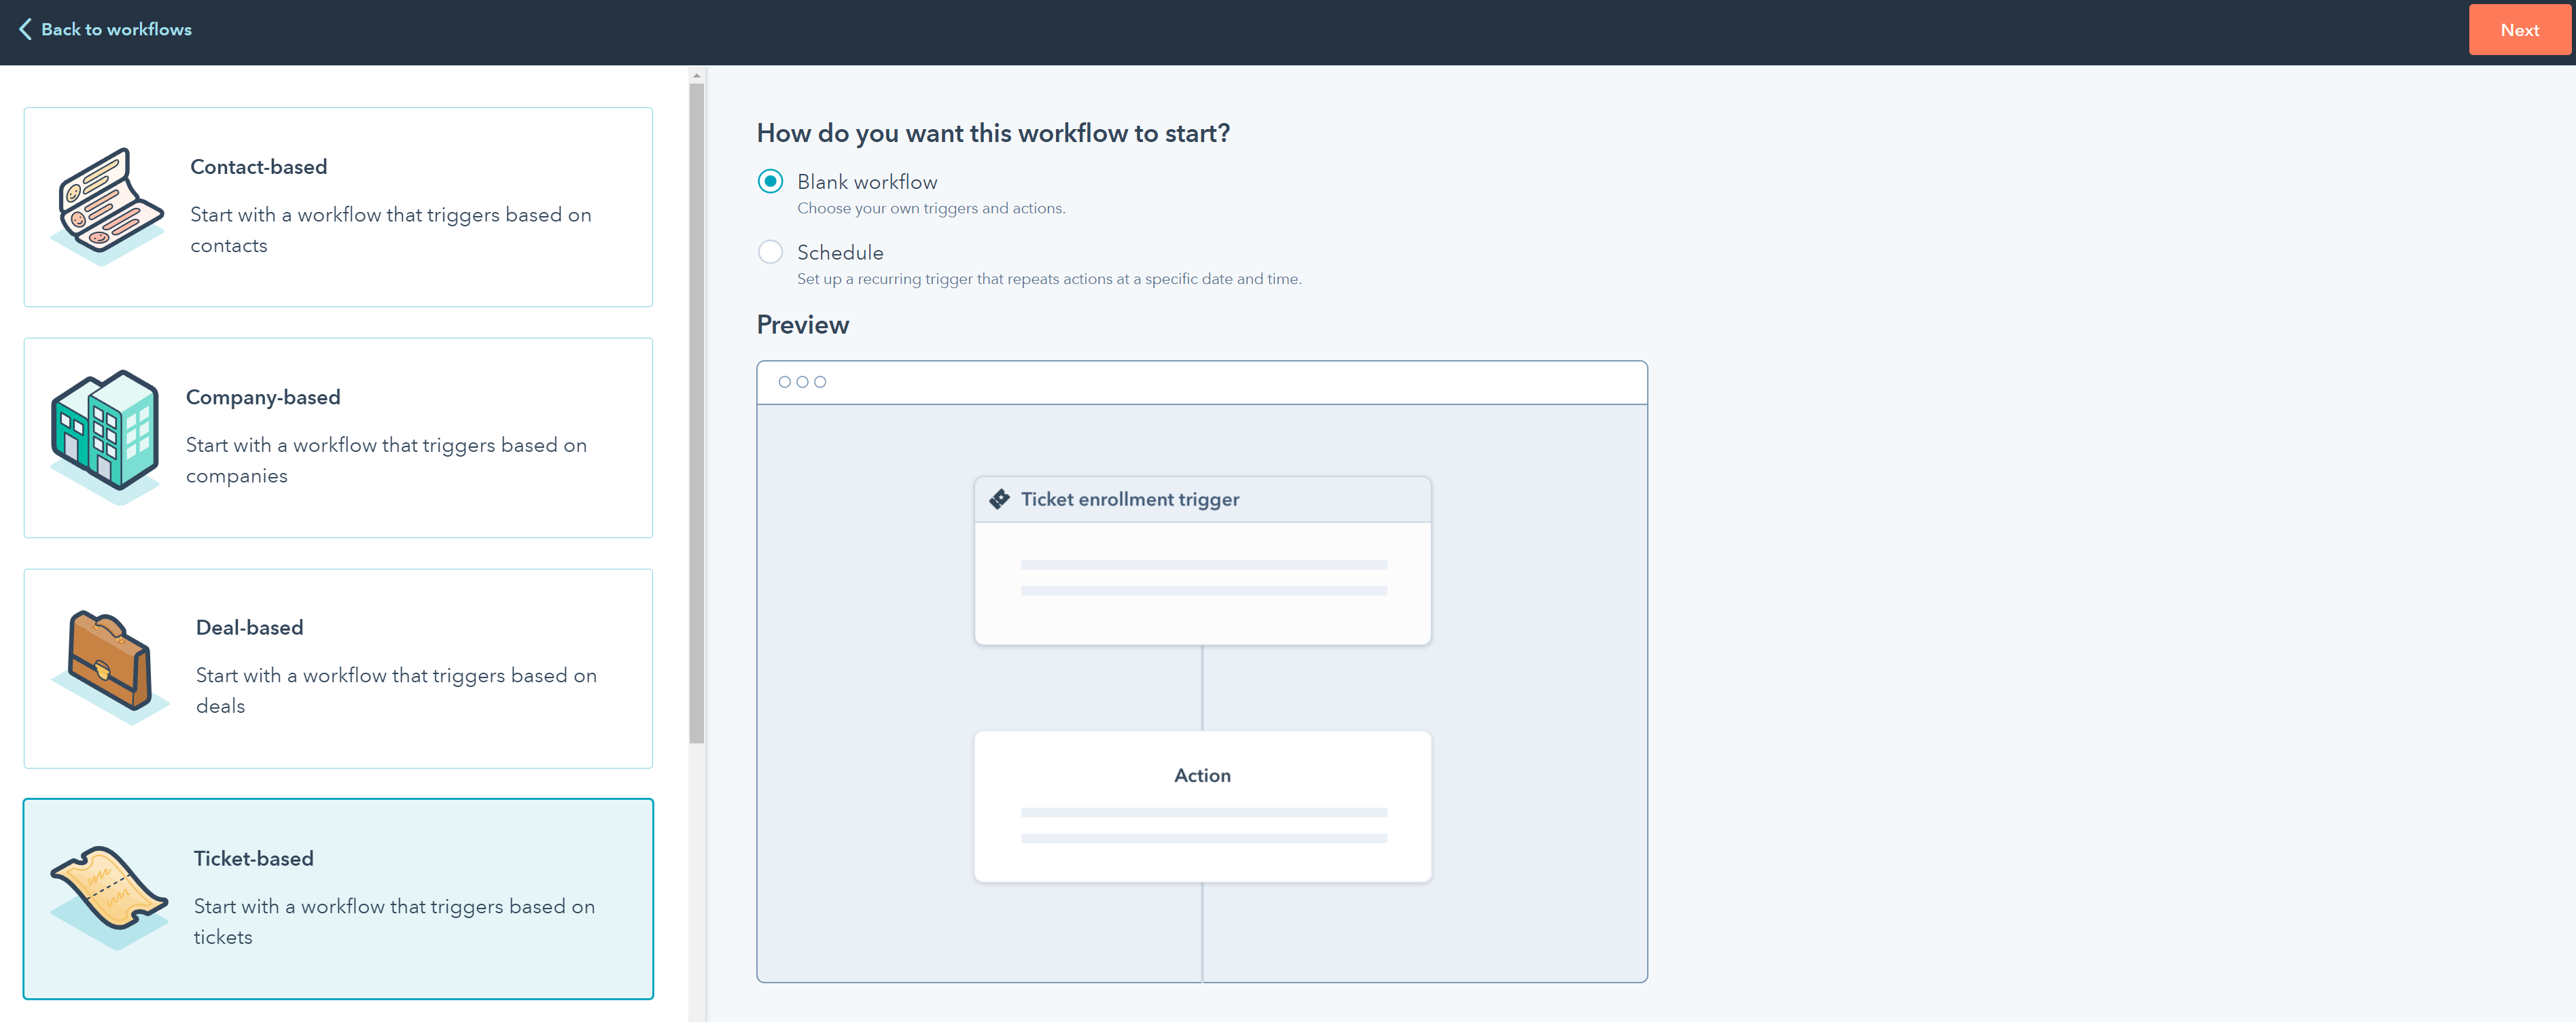
Next, select the "Ticket-based" option on the left-hand column. Select the "Blank workflow" radio button and click the orange "Next button" on the top right.
Click on the "Trigger" area at the top of the workflow which will open up the trigger options on the righthand side.

Select the "Ticket" filter option on the enrollment triggers.

Since this workflow requires a company on the ticket, look for the "Number of Associated Companies" property on the ticket and select it.

Set the filter to check if the number is greater than 0. This will only trigger this workflow when a ticket has a company to search for which will reduce potential errors. Click the "Apply filter" button and move to the next step.

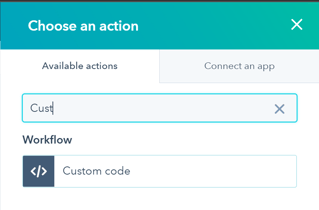
Next, click the plus button underneath the trigger to add a new action. This will open actions on the right hand side that allows you to determine what this action does.

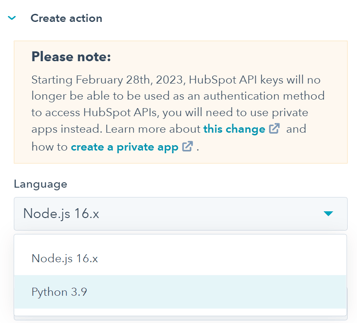
Click on the "Custom code" option as an action.
Change the language from the default Javascript to Python.
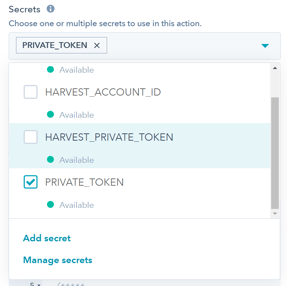
Add in your Private Token secret. It will typically look like PRIVATE_TOKEN. The code below is setup to use this name so make sure you change out the name if you name your private token different.
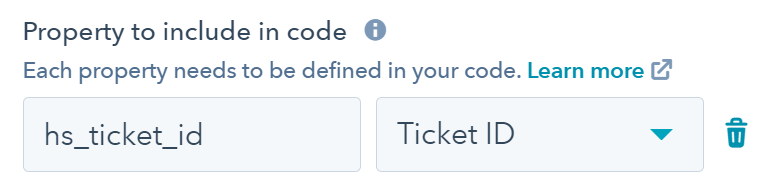
Add your ticket id as a property to pass into the code as "hs_ticket_id". This variable is a critical name for the code to work.
Finally, copy the script into the workflow code area. You can download the script below.
Next, click on the "Review and publish" orange button in the top right.

Set the workflow to only apply to tickets going forward by selecting the "No" radio button. If you use Yes, it will throw a lot of errors as these custom code pieces aren't designed for backlogging and queueing natively.

Your final workflow should look like this.
Download the Script
Now that you understand how to build it, the next step is putting it in action.
You can download the script below by putting in your email address.
Feel free to reach out if you have any questions.